Screenshots and OCR
This feature is only available in VMs
The examples in this repository contain a test that applies this feature. Tutorial: Graphical VMs and OCR
Screenshots
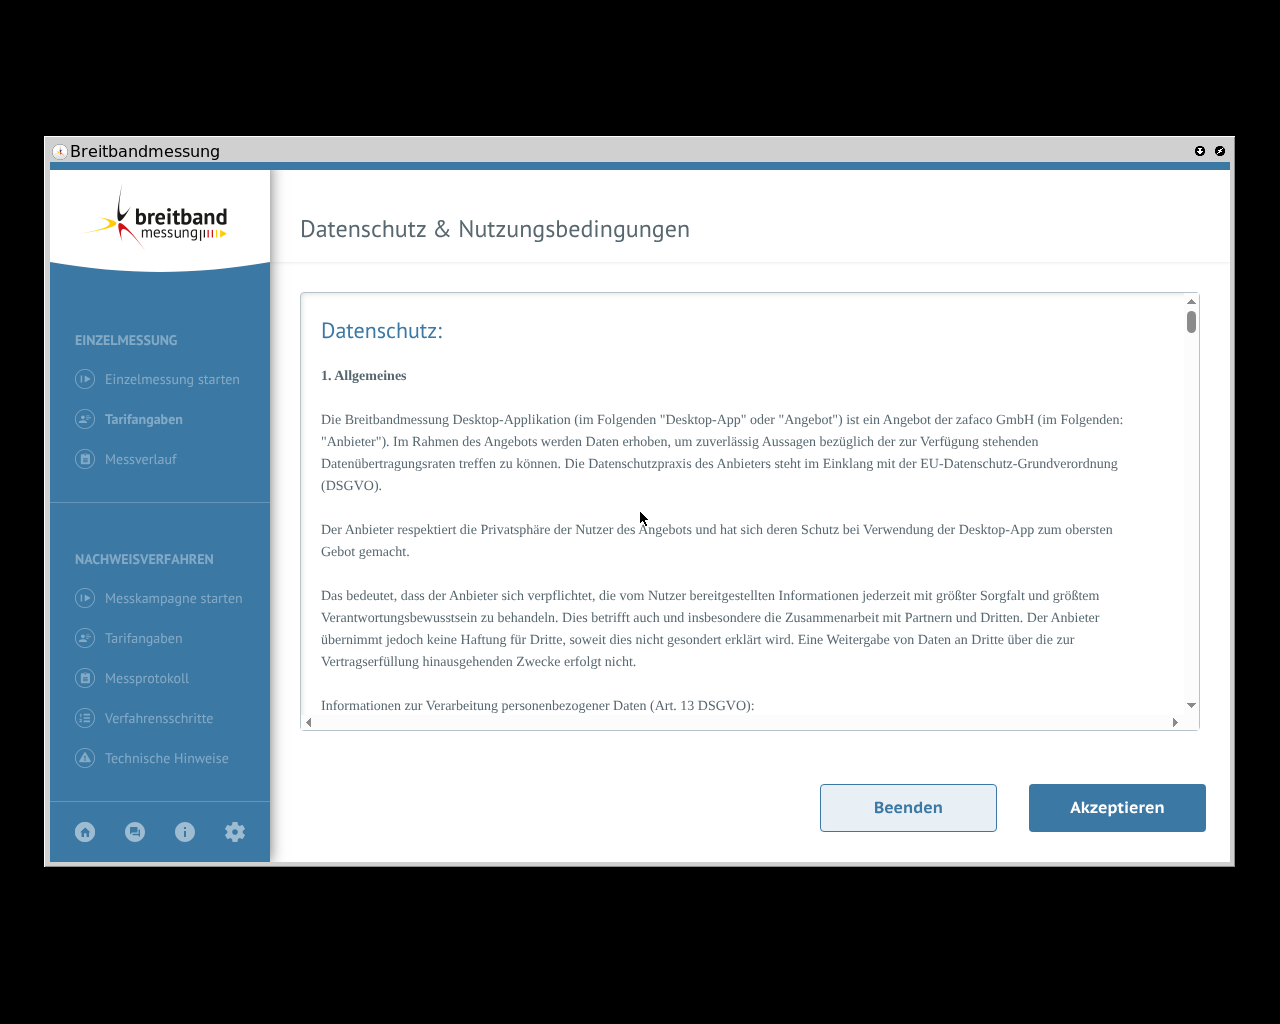
Screenshots can be taken at any time on any VM. The content of the screenshot is the content of the QEMU window without its frame. As this is the raw video output, it does not matter if the VM configuration has any graphical/desktop settings at all.
To take a screenshot in the Python testScript, call the screenshot(filename) method (as documented in the NixOS manual):
The screenshot image will be stored as my-screenshot.png in the output folder.
If the screenshot was taken in the interactive mode, then it will be stored in the working directory.
Configuring a graphical desktop
A VM with graphical desktop can be configured with the normal NixOS desktop configuration paths with any desktop manager/environment.

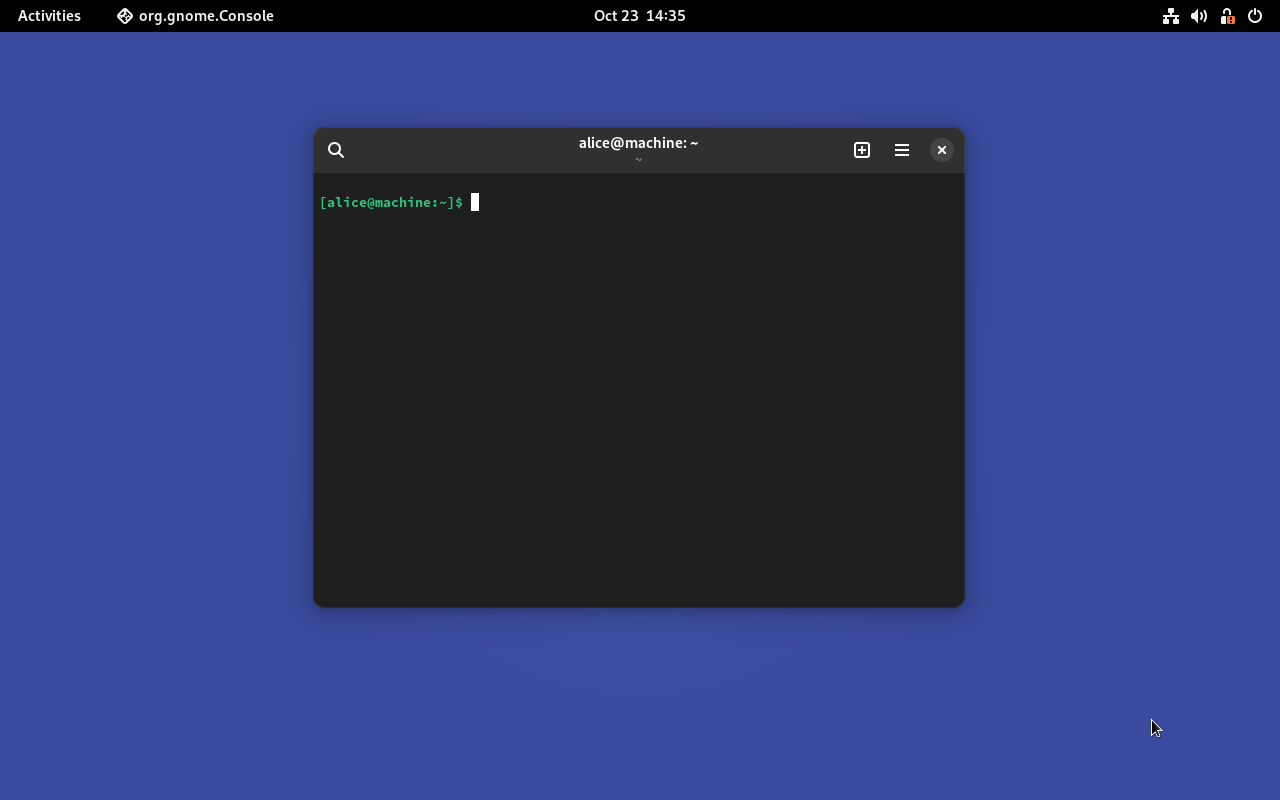
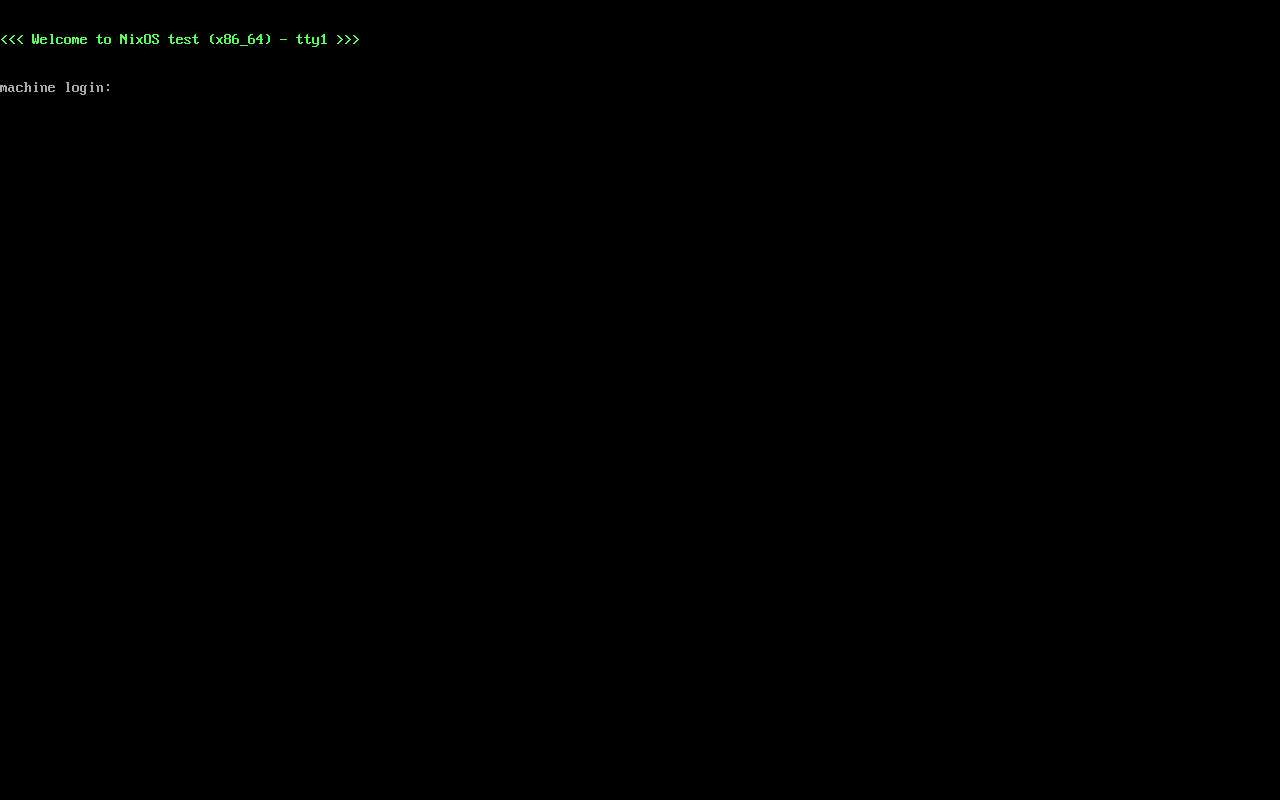
The nixpkgs repository contains a minimal test desktop preset profile. The empty desktop looks like the screenshot on the right. To configure it, add the following to a VM's configuration
{
  # ...

  nodes = {
    my-graphical-vm = { modulesPath, ...}: { # (1)
      imports = [
        (modulesPath + "/../tests/common/x11.nix")
      ];
    };
  };

  # ...
}
modulesPathis a common NixOS module system parameter and points into thenixos/modulessubfolder of the nixpkgs repository. It is further explained in the NixOS documentation
The included profile does the following (click on the links to see the implementation):
-
- this test specific profile sets up a minimal IceWM based desktop.
- it also includes
auto.nix
-
- this module provides auto-login display manager settings for testing
Setting the VM display resolution
If the VM's graphic output is too small/large, it can simply be changed in the NixOS configuration:
{
  # ...

  nodes = {
    desktop-vm =
      { modulesPath, ... }:
      {
        imports = [
          (modulesPath + "/../tests/common/x11.nix") # (1)
        ];

        virtualisation.resolution = { # (2)
          x = 800;
          y = 600;
        };
      };
  };

  # ...
}
-
This is the minimal testing preview from the last section.
It is not necessary to include before changing the resolution.
-
This parameter is defined in the qemu-vm.nix profile.
Enabling and using OCR
Using optical character recognition (OCR) in the NixOS test driver means taking a screenshot of the graphical VM output and recognizing all characters/text snippets that are visible on the screen.
This feature needs to be enabled globally using the enableOCR option in the test attribute like this:
After setting this option, the following machine methods are available:
| Method | Description |
|---|---|
client.get_screen_text() |
Perform OCR on a fresh screenshot and return all recognized text snippets as a string |
client.get_screen_text_variants() |
Same as get_screen_text but returns more possible interpretations in a list. |
client.wait_for_text(<regex: text to wait for>) |
Blockingly wait for a text snippet to appear on the screen. |
Existing graphical tests in nixpkgs
The nixpkgs project already contains these and more graphical tests.
Each test title links to its implementation for your inspiration.