Interactive Test Driver
One of the most powerful features of the NixOS test driver is the interactive mode. It allows us to run and debug your tests step-by-step and play around in each VM interactively.
The most important use cases are:
-
Test exploration
Experimenting with live running nodes to find out how to test them properly
-
Debugging failing tests
If a test fails in CI, we can check it out locally and run it in interactive mode. As soon as it fails, the test stops but does not tear down the nodes. Now, we can log into each VM and find out what's wrong.
Starting the interactive mode
Assuming we normally run a test like this:
For the interactive mode, we need to build the driverInteractive attribute first:
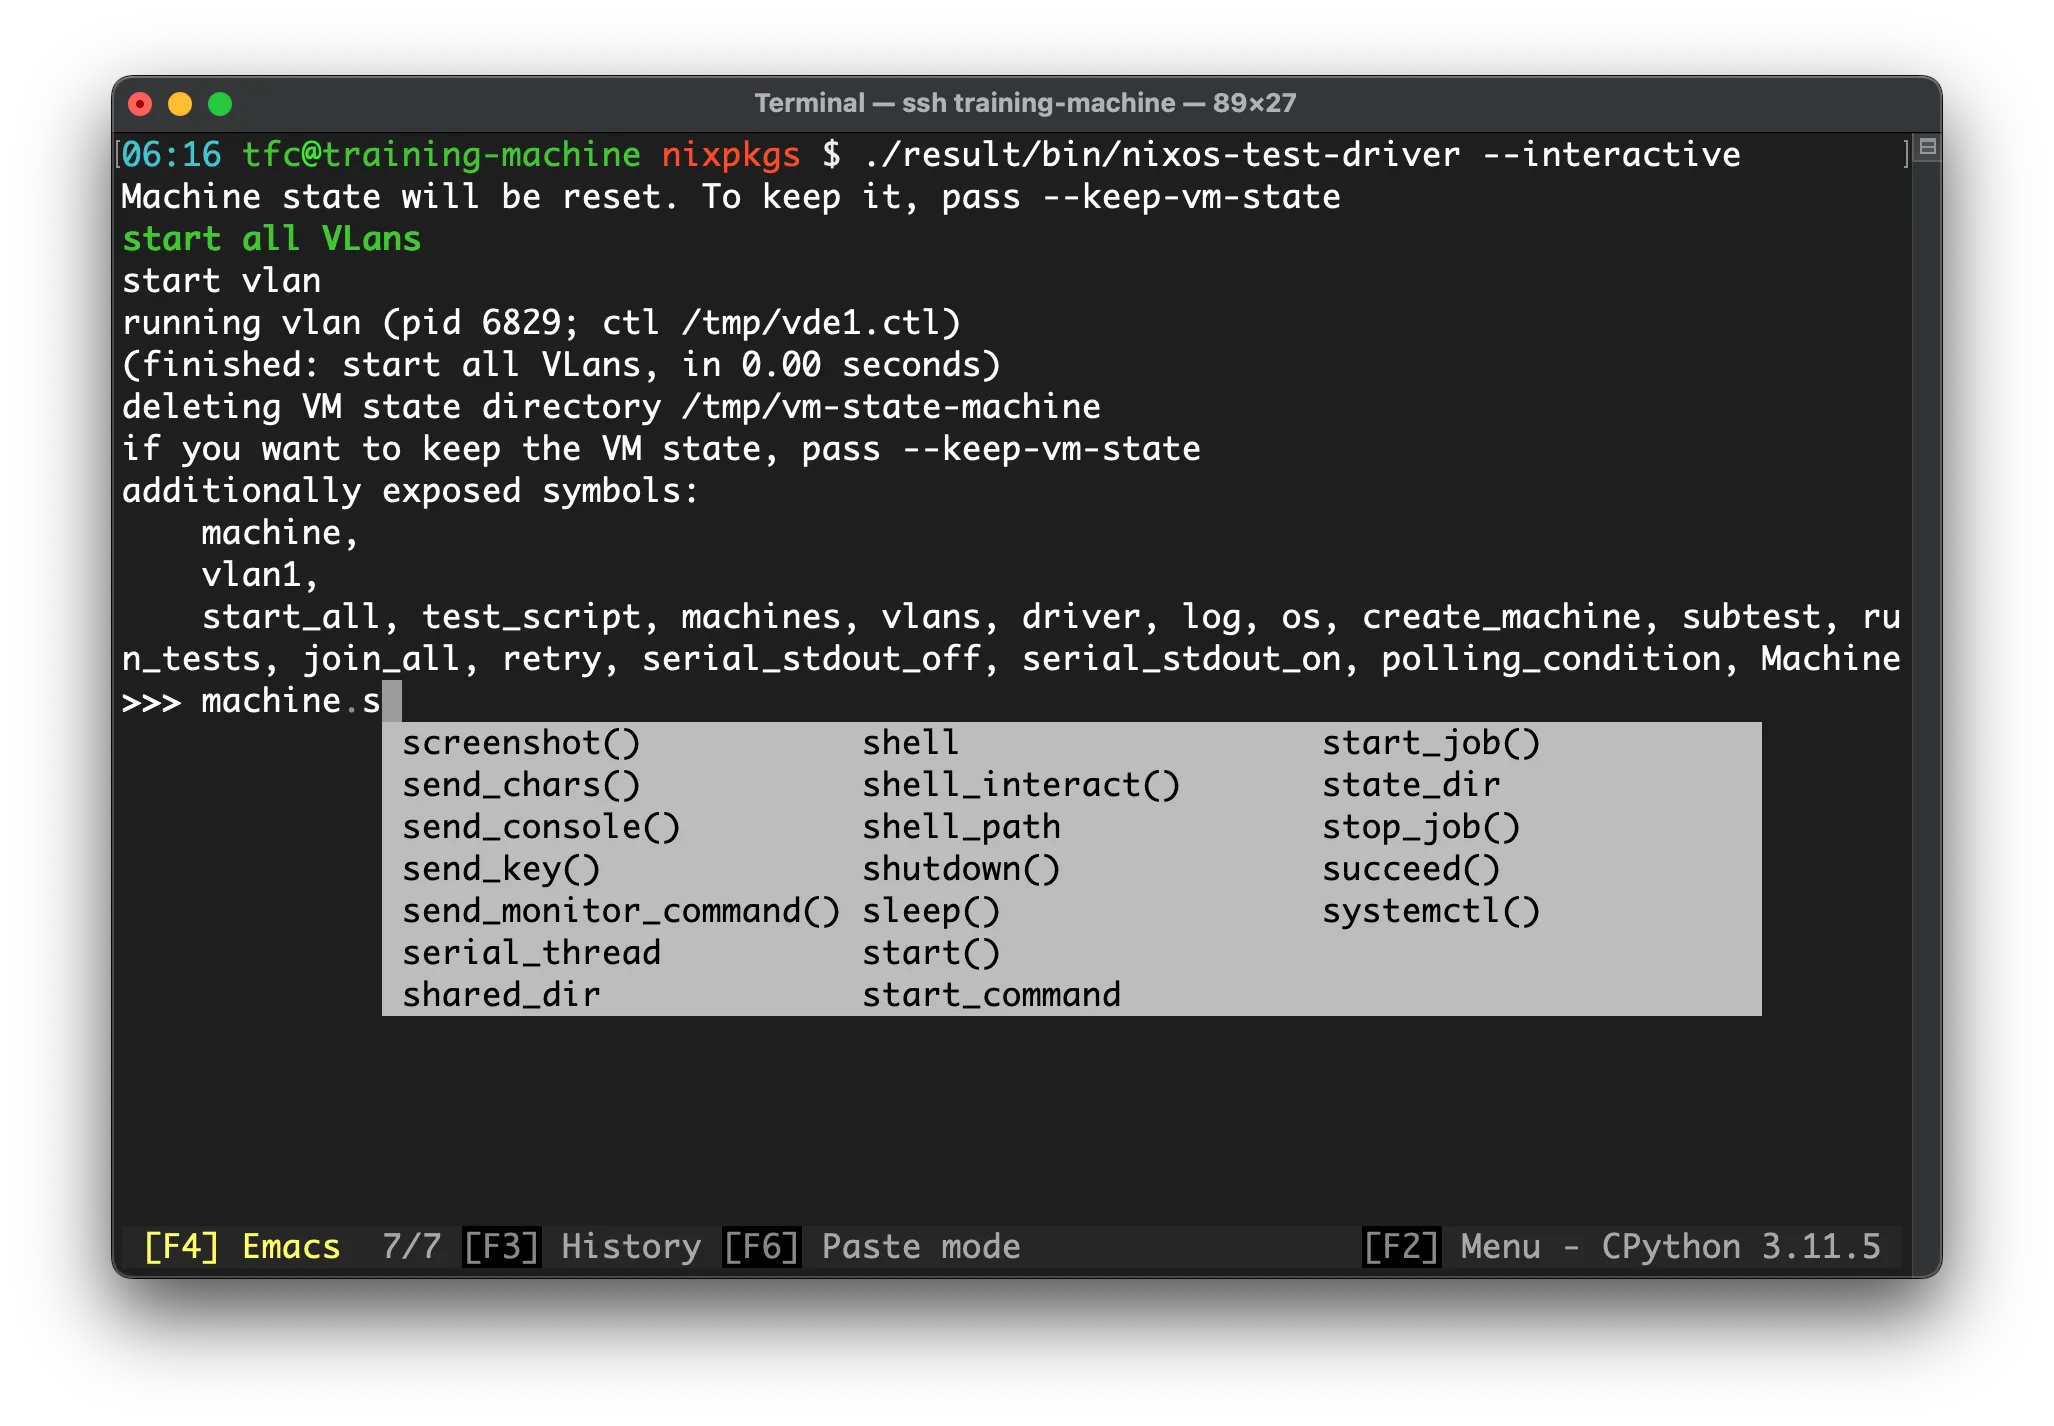
Then, we can run the interactive mode:
This drops us into a Python shell (based on IPython) where we can interact with the nodes:
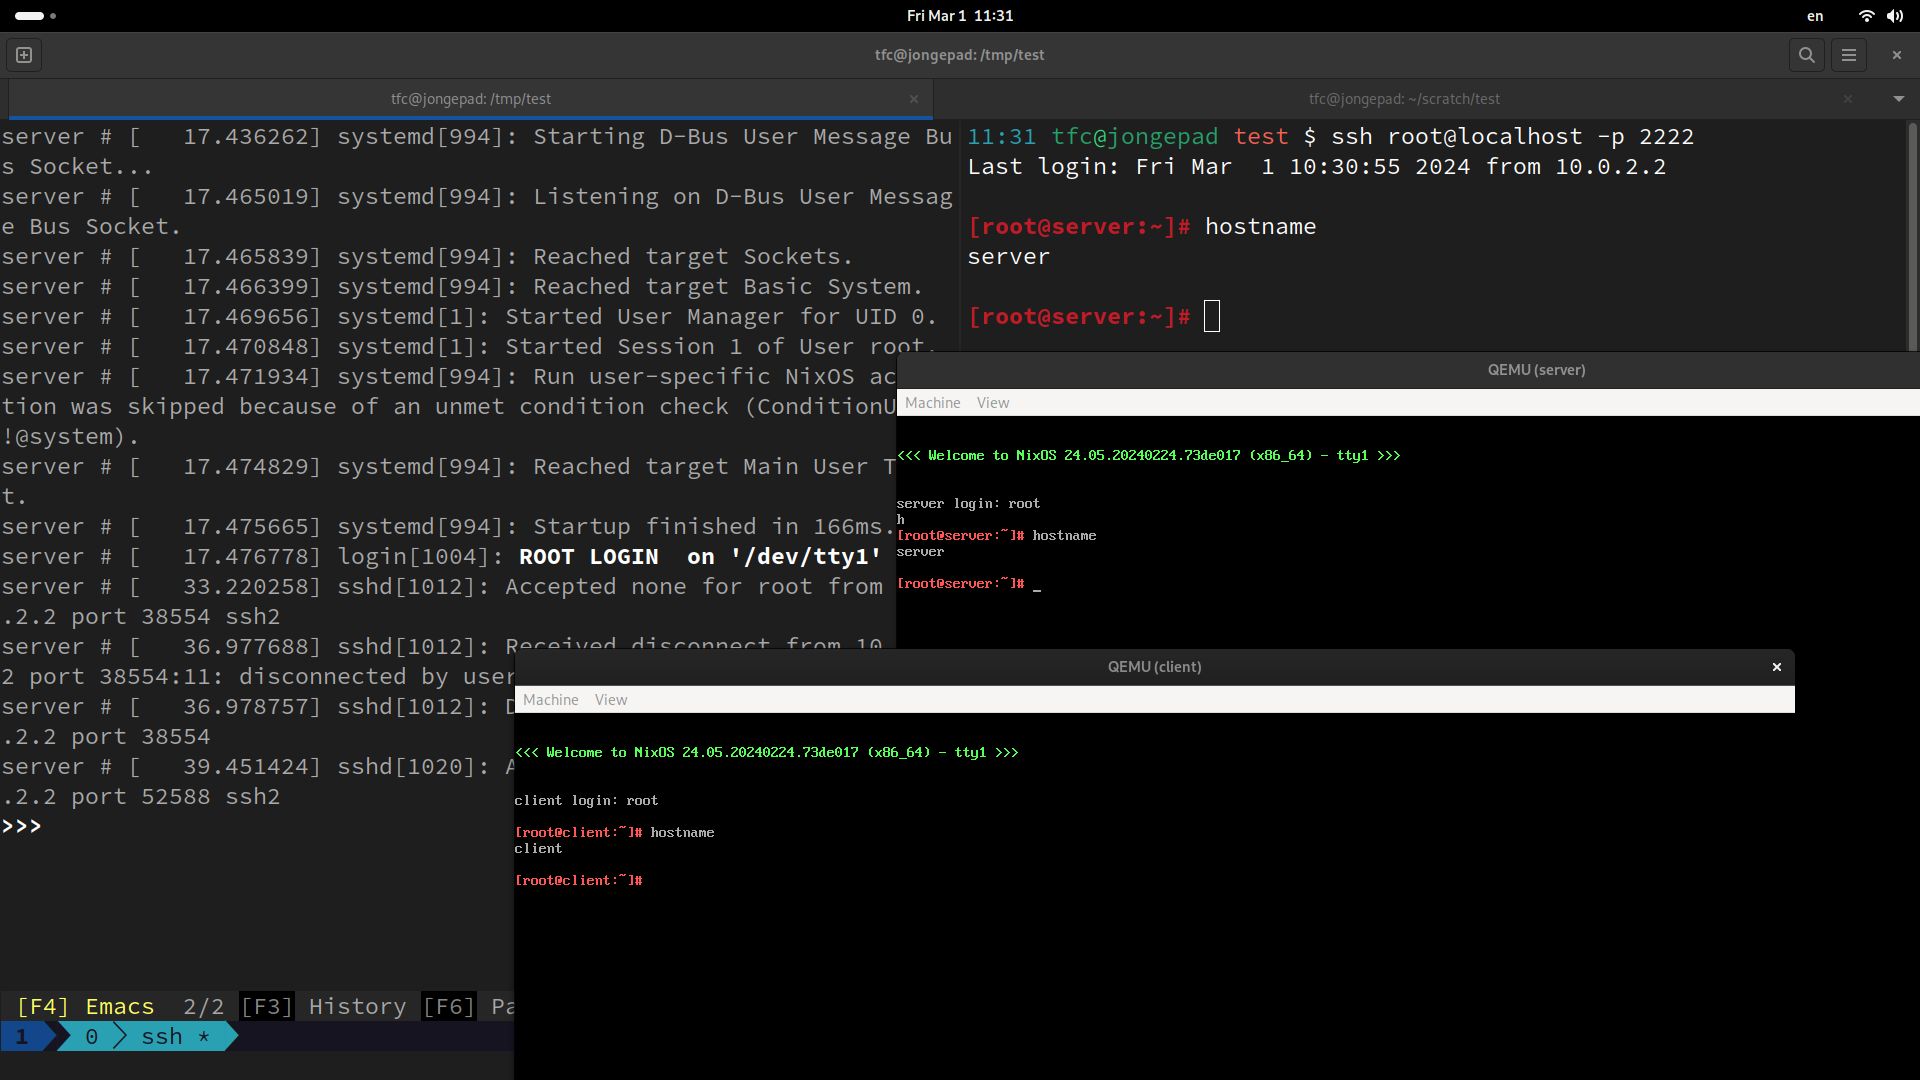
Running VMs will also launch with visible QEMU windows that we can interact with like this:
Adding extra configuration only in interactive mode
Similar to the defaults top-level attribute, we can add settings to virtual machines but only when the test driver is built in interactive mode:
{
  name = "some test";

  nodes = { # (1)
    machine1 = { };
    machine2 = { };
  };

  interactive = { # (2)
    defaults = { pkgs, ... }: { # (3)
      environment.systemPackages = [
        pkgs.wireshark
      ];
    };

    nodes.machine2 = {
      networking.firewall.enable = false;
    };
  };

  testScript = ''
    # some testing
  '';
}
-
All configuration in the
nodesattribute will be used in all tests, sandboxed and interactive. -
All configuration in
interactivewill be mixed with thenodes(andcontainersif used) configuration, but only in interactive mode.Outside interactive mode, it is as if these lines did not exist.
-
defaultscan be combined withinteractivejust fine!
Package wireshark for network packet analysis is added to all nodes and only on machine2, the firewall is disabled.
If these settings are often needed for debugging, but never desired in non-interactive production tests, this is the perfect way to set it up.